

- Windows 11 operating system installed on your computer
- Administrator access to your computer
- At least 4 GB of RAM.
- At least 2.5 GB of free disk space.
- Internet connectivity for downloading the Java 11 installer.
- Compatible Java Development Kit (JDK) installer for Windows 11, which can be downloaded from the Oracle website.
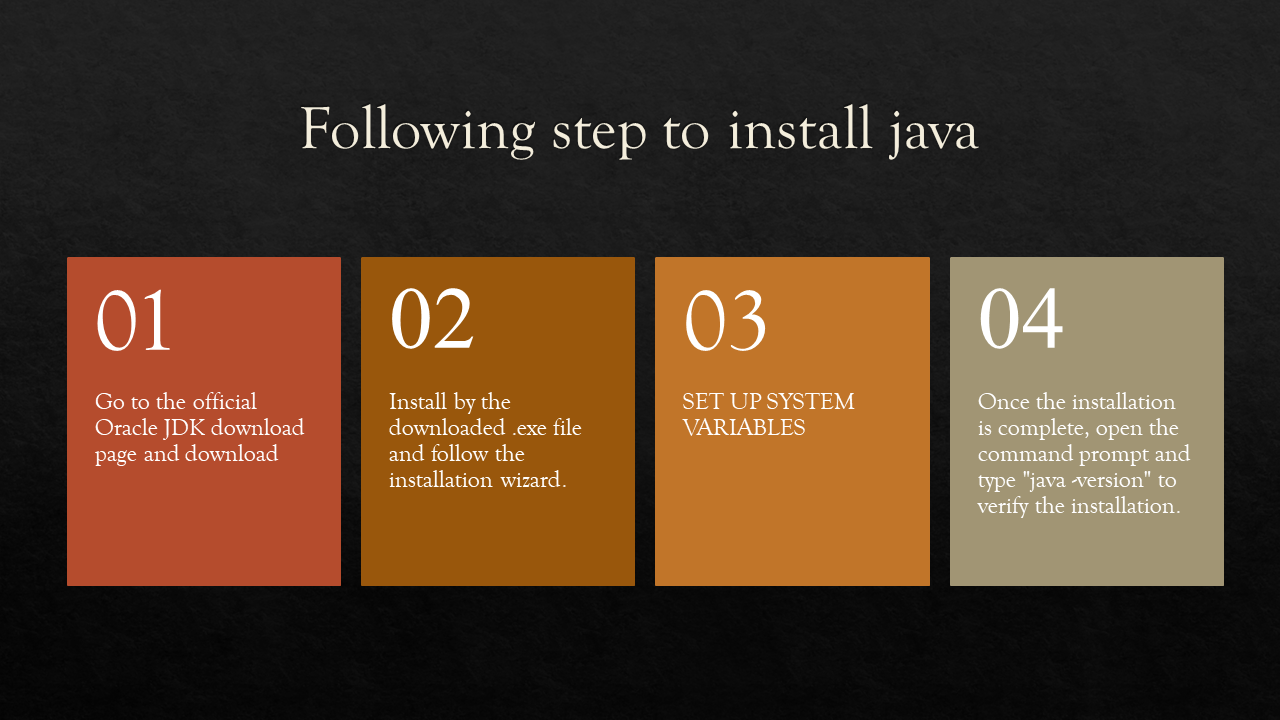
You can follow these steps to download and install Java 11 on Windows:
Go to the Oracle website to download Java 11 for Windows. You can use this link: https://www.oracle.com/java/technologies/javase-jdk11-downloads.html
Scroll down to the "Java SE Development Kit 11 Downloads" section and click on the download button next to the Windows option.
You will be redirected to a page where you need to accept the license agreement before you can proceed with the download. Click on the "Accept License Agreement" radio button and then click on the download link for the Windows option.
Save the downloaded file to a directory of your choice.
Once the download is complete, double-click on the downloaded file to run the installation process.
Follow the on-screen instructions to complete the installation process.
After the installation is complete, you should have Java 11 installed on your Windows system. You can verify this by opening a command prompt and typing "java -version". If Java 11 is installed, you should see the version information displayed.


0 Comments